Installation
This page is heavily inspired by the official GOAD installation page, found in this Github
Dependencies and recommendations
Dependencies:
| Dependency | Version or note |
|---|---|
| Vagrant | Version 2.2.18 -> Used to create the VMs |
| VirtualBox | Version 6.1 not 7 -> Hypervisor |
| GOAD Github | All GIT GOAD files |
| Linux Server | Hardware recommendations are just below |
Hardware dependencies:
| Hardware | Value |
|---|---|
| CPU | Around 16 Cores (excluding Host OS) |
| RAM | 32Gb of RAM (16Gb is possible but with compromises) |
| HDD | 120Gb for the LAB itself! |
Preparation and installation of dependencies
- Let's start by cloning the repo
git clone https://github.com/Orange-Cyberdefense/GOAD.git
The downloaded folder structure should look like this:
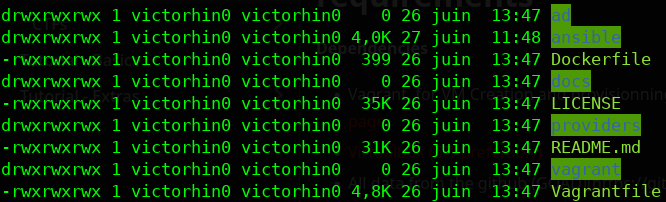
Make sure the Vagrant file and the ansible and ad folders are present
Install Virtualbox
The version of VirtualBox we are going to install is not the latest! You can find all the installers on this page: https://www.virtualbox.org/wiki/Download_Old_Builds_6_1
I recommend using the "All distributions" package which will compile and install VirtualBox
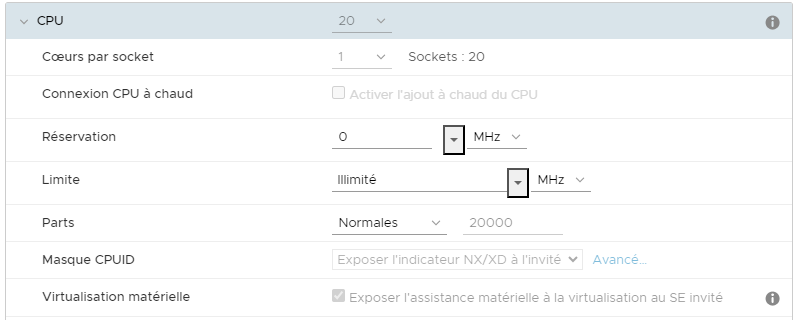
Important if you install GOAD in a VM
It is important to enable virtualization in the virtual machine menu
In my case, my machine is a VM in an ESX (Vmware) so I had to enable virtualization like this:
Install Vagrant
Vagrant will be used to create the empty VMs on VirtualBox.
To install Vagrant, we need to download the .deb file corresponding to version 2.12.18
This .deb can be found here: https://releases.hashicorp.com/vagrant/2.2.18/vagrant_2.2.18_x86_64.deb
Once this deb is downloaded, just install it
sudo dpkg -i vagrant.deb
Creation of virtual machines
We just have to launch the VM creation with this command:
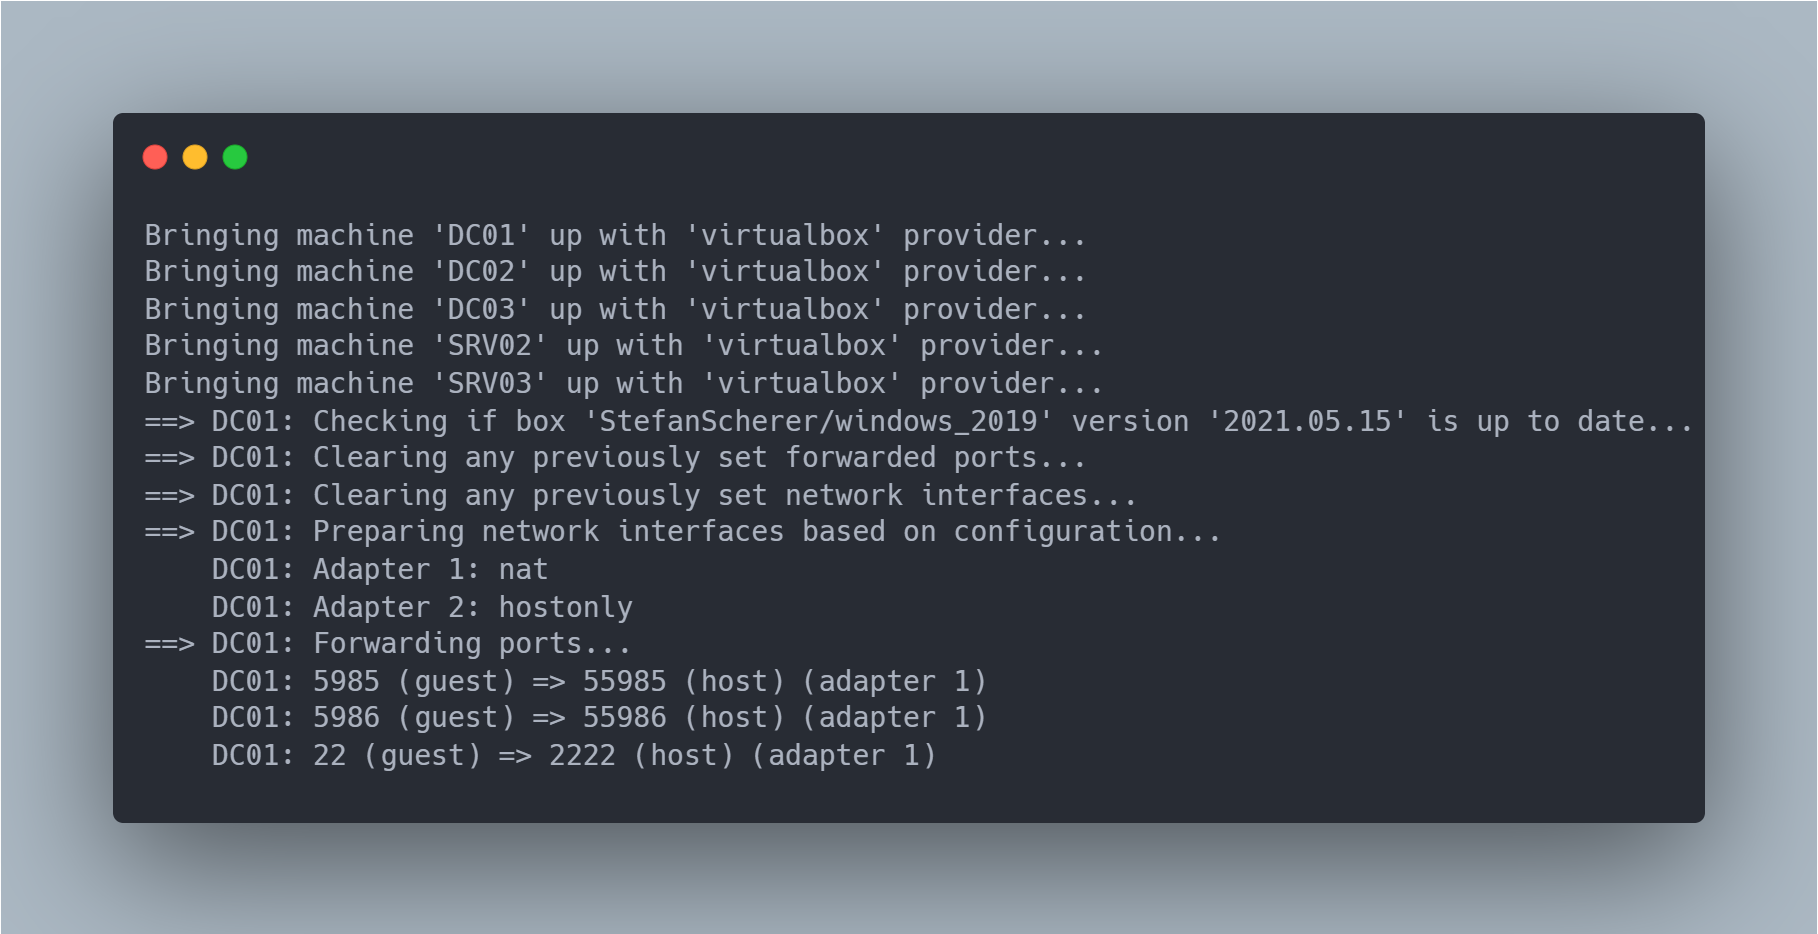
vagrant up
You should have an output like this:
If you have the following error:
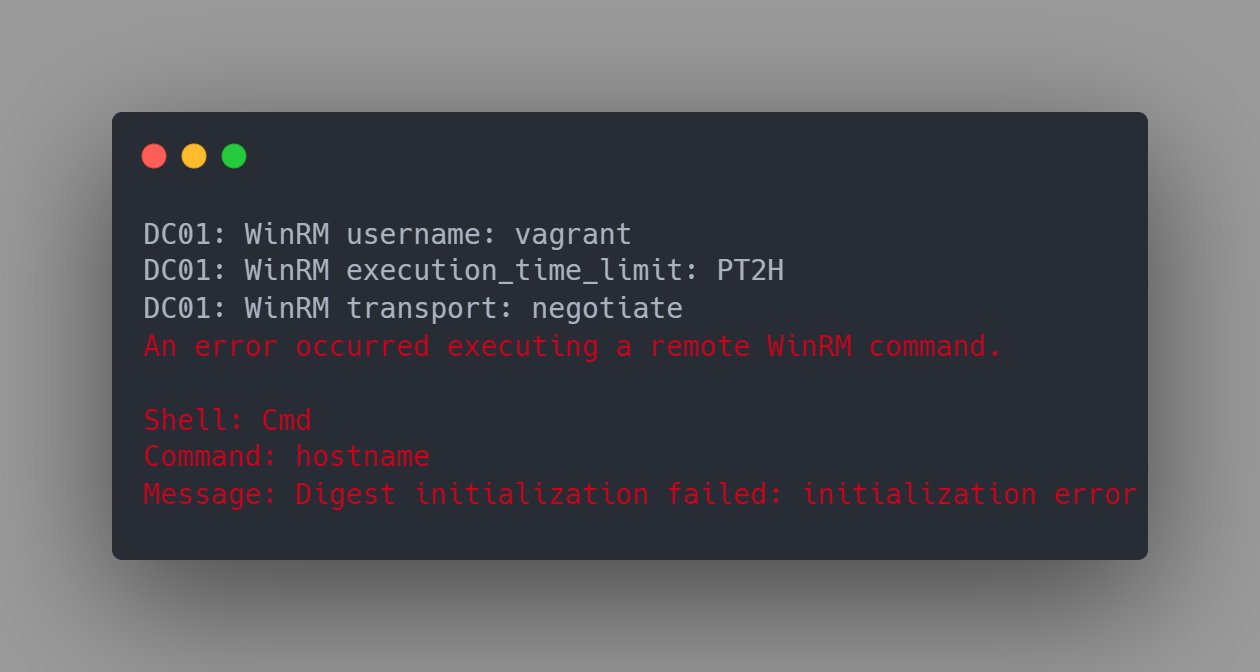
Make sure you have vagrant version 2.2.18. You can check the version with the following command:
vagrant --version
On the first vagrant UP you do, the different ISOs will be downloaded. From the second time, you won't have to download them anymore, they will be cached!
Once the VM creation is done, you should have the 5 machines (DC01 to 3 then SRV2 and 3) turned on and properly created on VirtualBox. We can then move on to provisioning these machines on Ansible
Provisioning machines and building AD with Ansible
Ansible installation
Before provisioning the machines with Ansible, we must install some dependencies. Here you have 2 choices:
- The server/VM you are using is dedicated to GOAD
In which case, you can directly install the python libraries without going through a virtual environment:
cd GOAD/ansible
python3 -m pip install --upgrade pip
python3 -m pip install ansible-core==2.12.6
python3 -m pip install pywinrm
ansible-galaxy install -r requirements.yml
- The server/VM you are using is multipurpose, not just for GOAD
In which case you will have to go through a virtual environment:
python3 -m virtualenv .venv
source .venv/bin/activate

python3 -m pip install --upgrade pip
python3 -m pip install ansible-core==2.12.6
python3 -m pip install pywinrm

ansible-galaxy install -r requirements.yml
It happens that python libraries conflict with other libraries. We use virtual environments for this.
In general, we have one virtual environment per project. We can even use environment managers, such as conda: https://anaconda.org/anaconda/conda
Moreover, it is generally recommended to go through a virtual environment even if there is no other project.
Provisioning machines with Ansible
Puis ensuite nous pouvons commencer à provisionner les VM via cette commande :
ansible-playbook -i ../ad/sevenkingdoms.local/inventory main.yml
When launching the script, this is what should appear

In case there is an error message
Case #1:
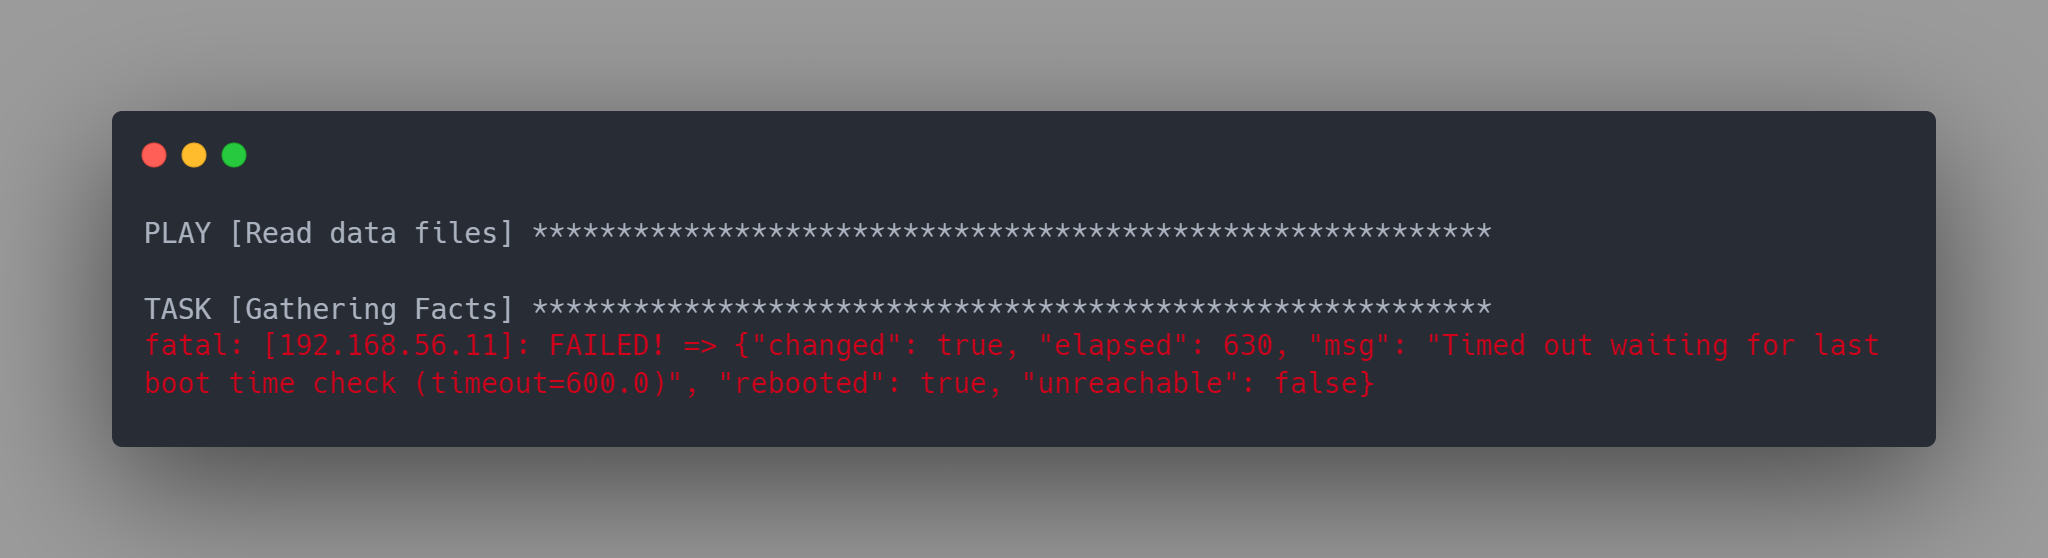
This means that the VMs are updating, and therefore, the ansible script has "abandoned" the idea of provisioning the VMs
Wait for the VMs to finish booting, then:
vagrant halt
vagrant up
Case #2:
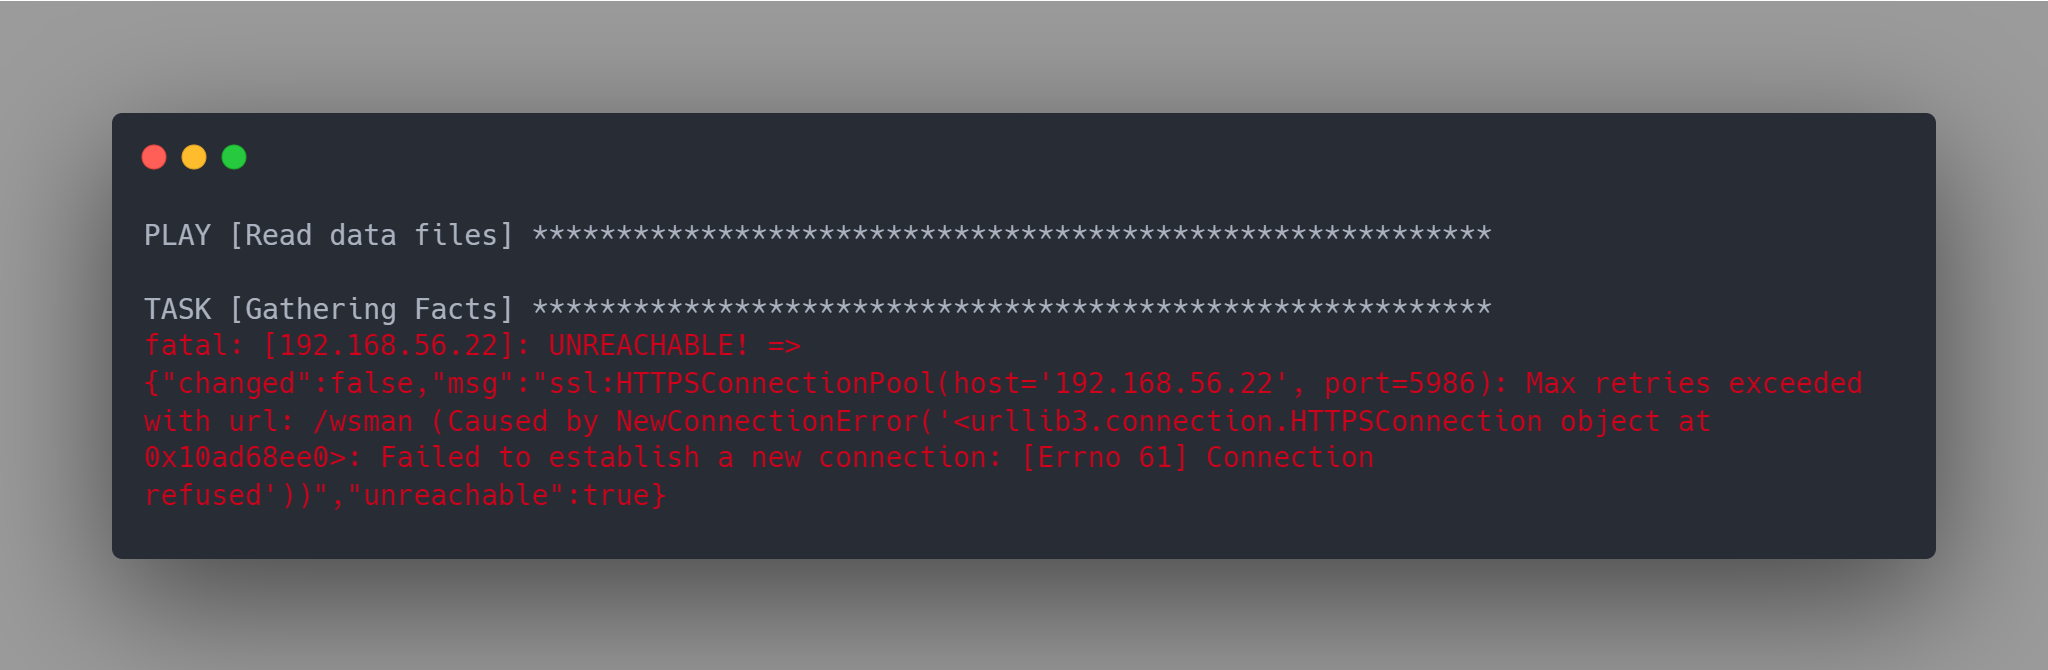
This error often happens, and usually affects 1 or 2 VMs. You must re-provision the affected VMs with vagrant.
In order not to waste too much time, it is possible to provision the VMs individually with the following command:
vagrant up <vmname>
Finally, a report will be presented to you.
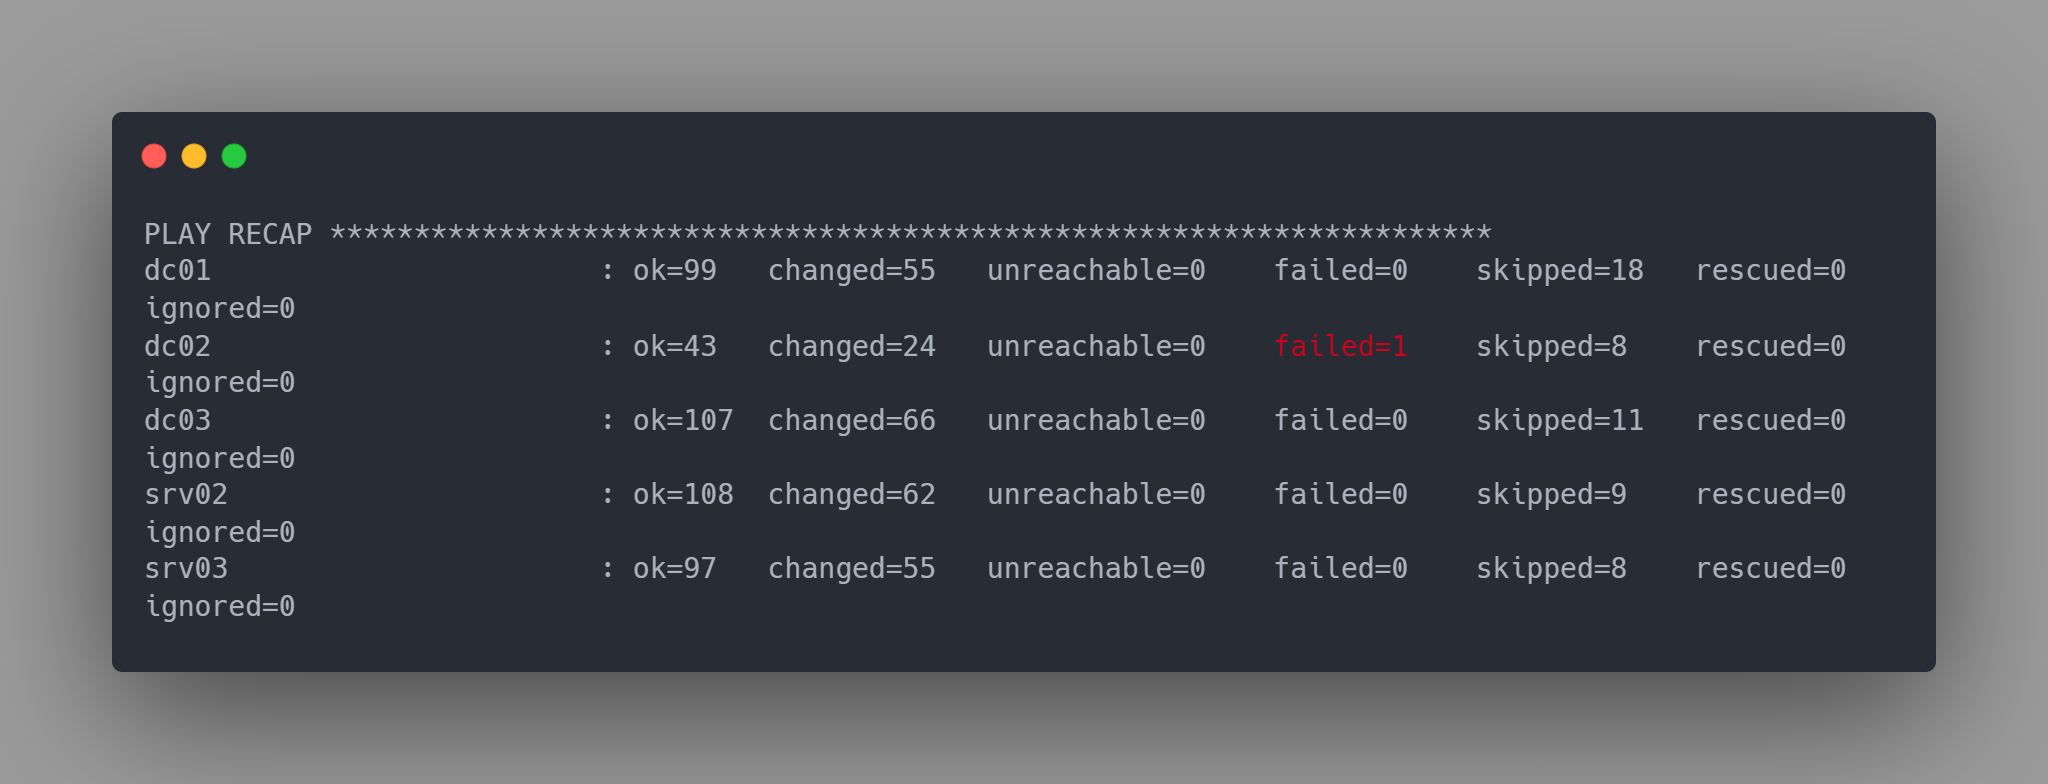
For example, here we see that there was an error on DC02. So I would have to run the ansible script again to fix this error!
Snapshotting virtual machines with Vagrant
Once this is done, it is possible to take a snapshot of the VMs with vagrant:
vagrant snapshot push
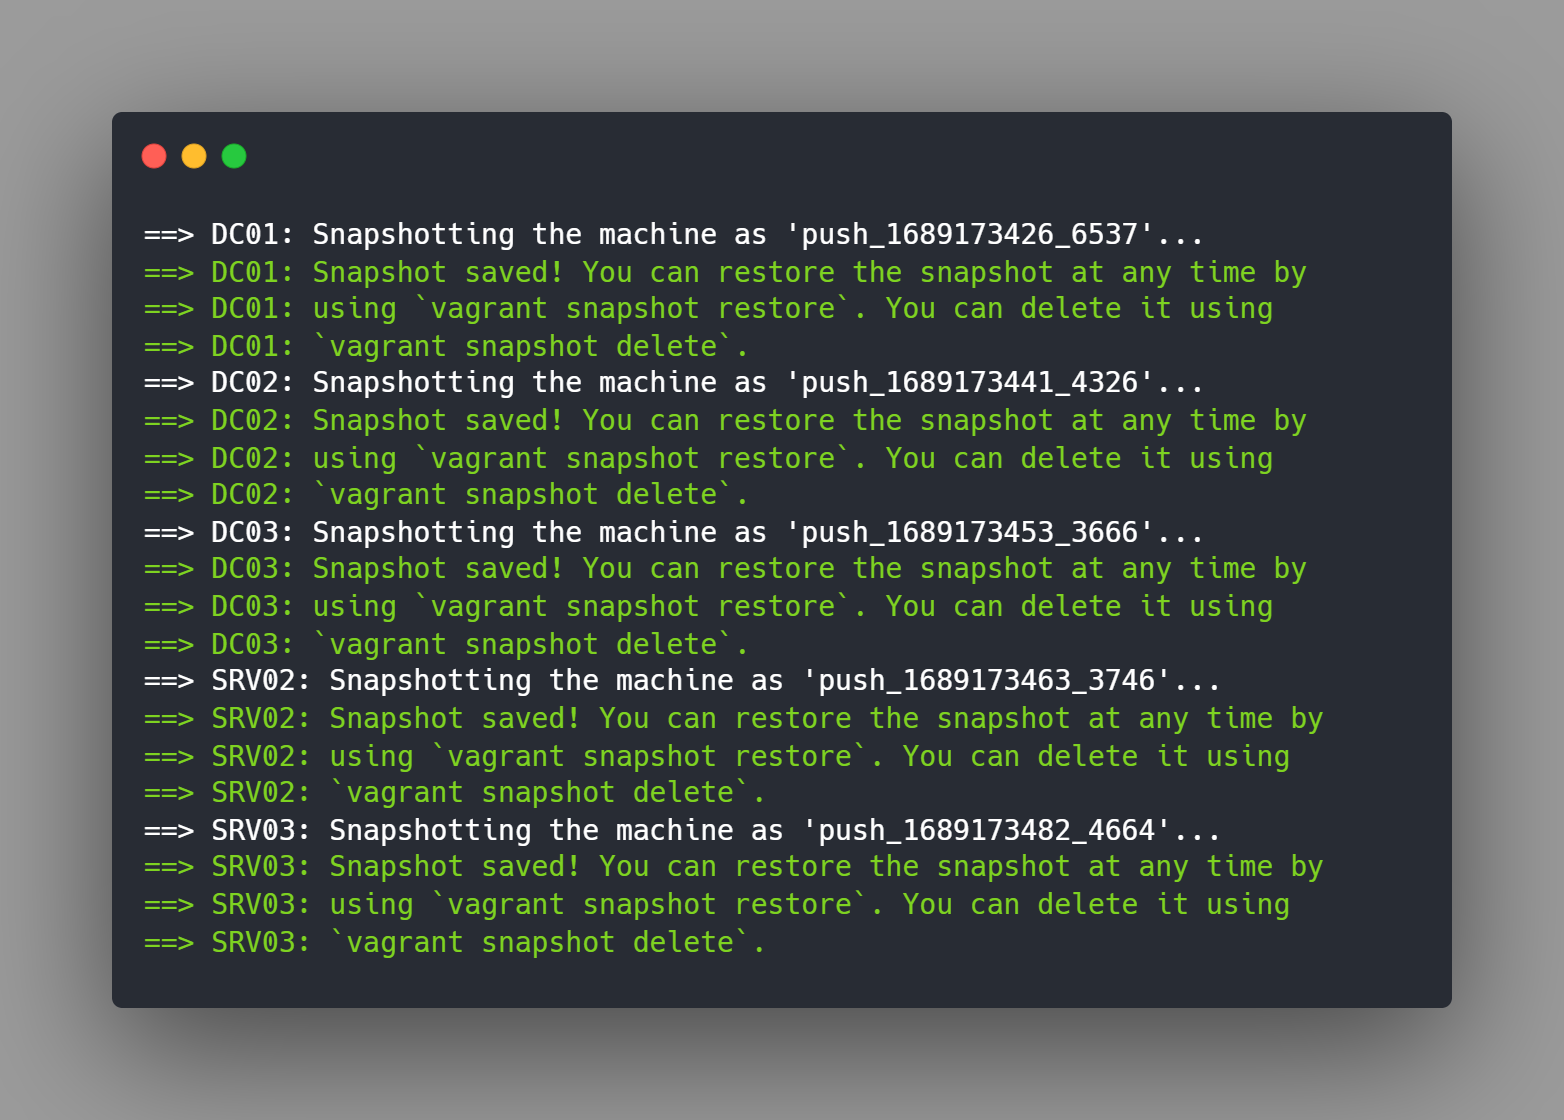
This will create snapshots directly integrated into VirtualBox:
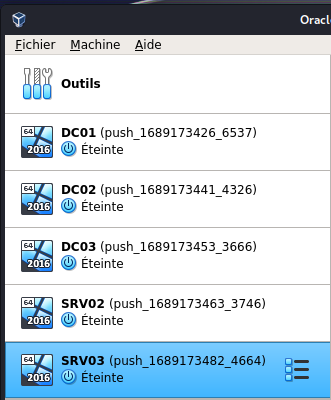
And there you go, your environment is ready! We can start attacking it!